
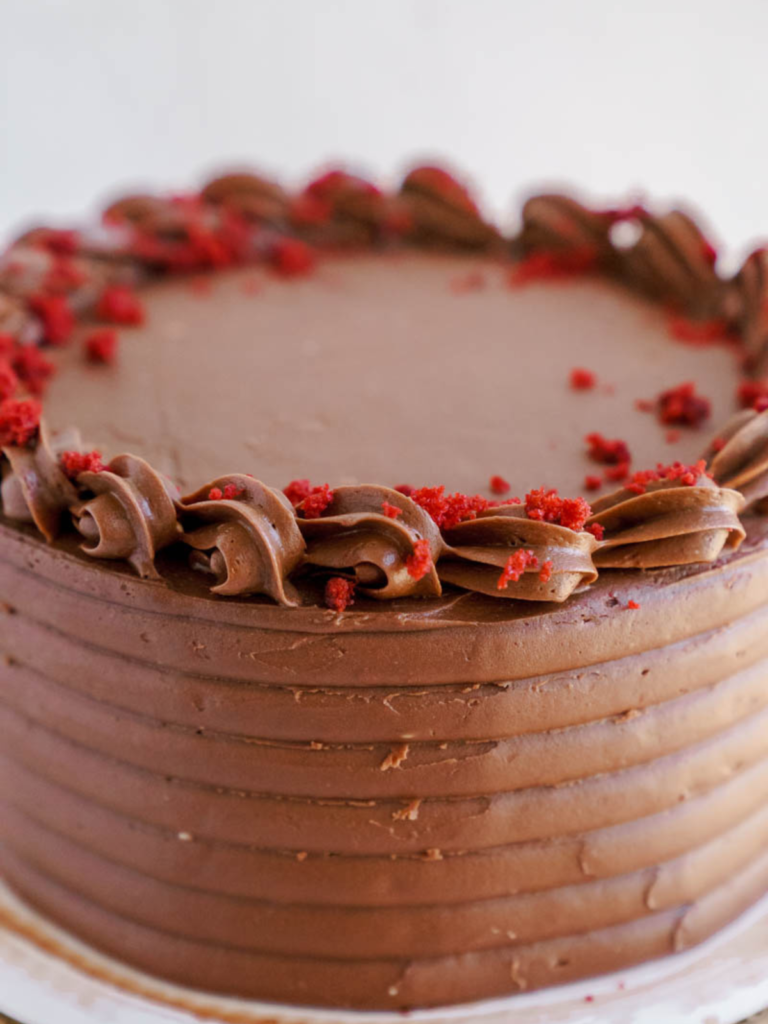
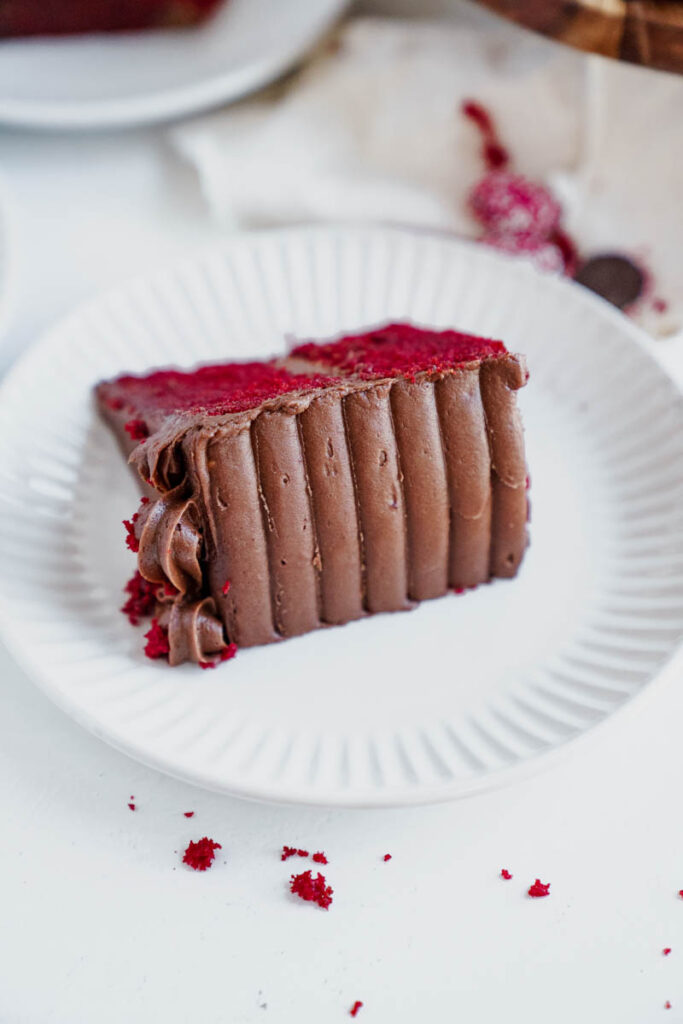
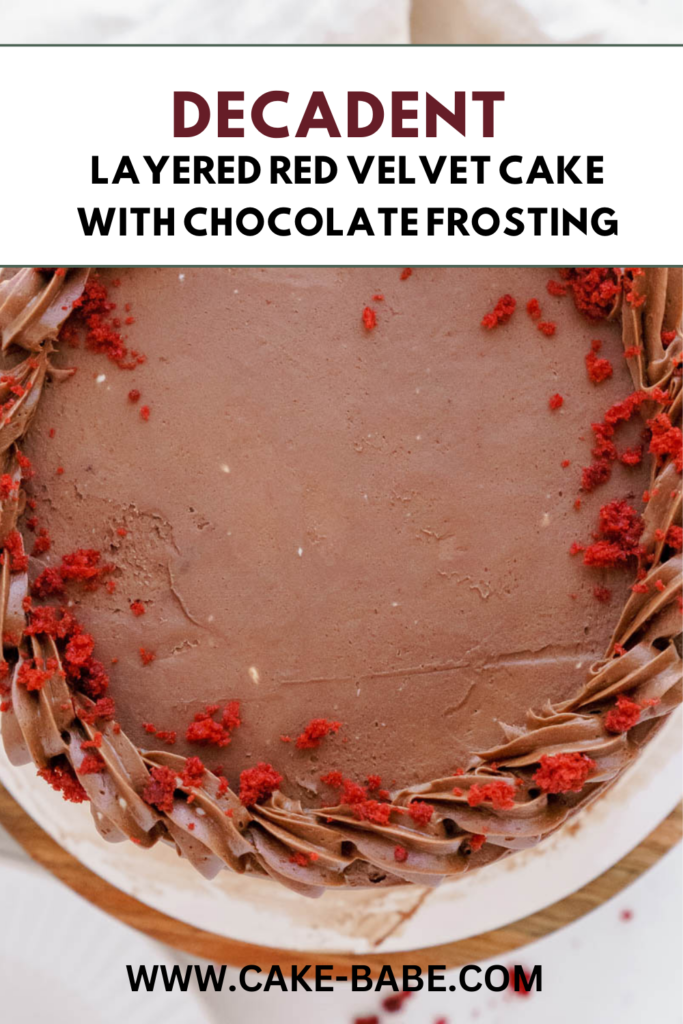
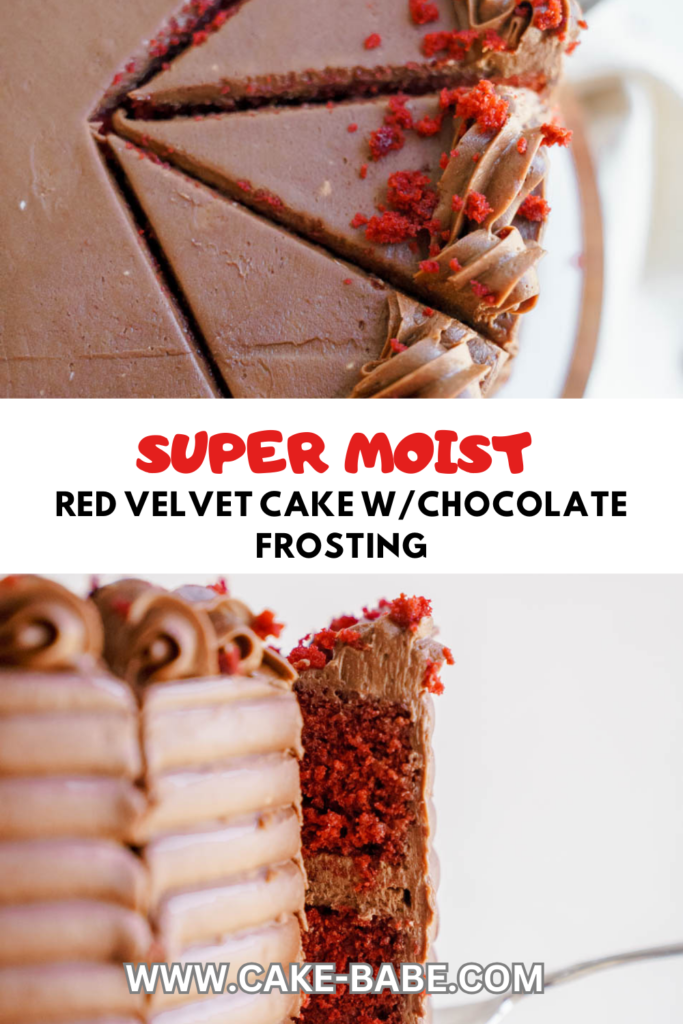
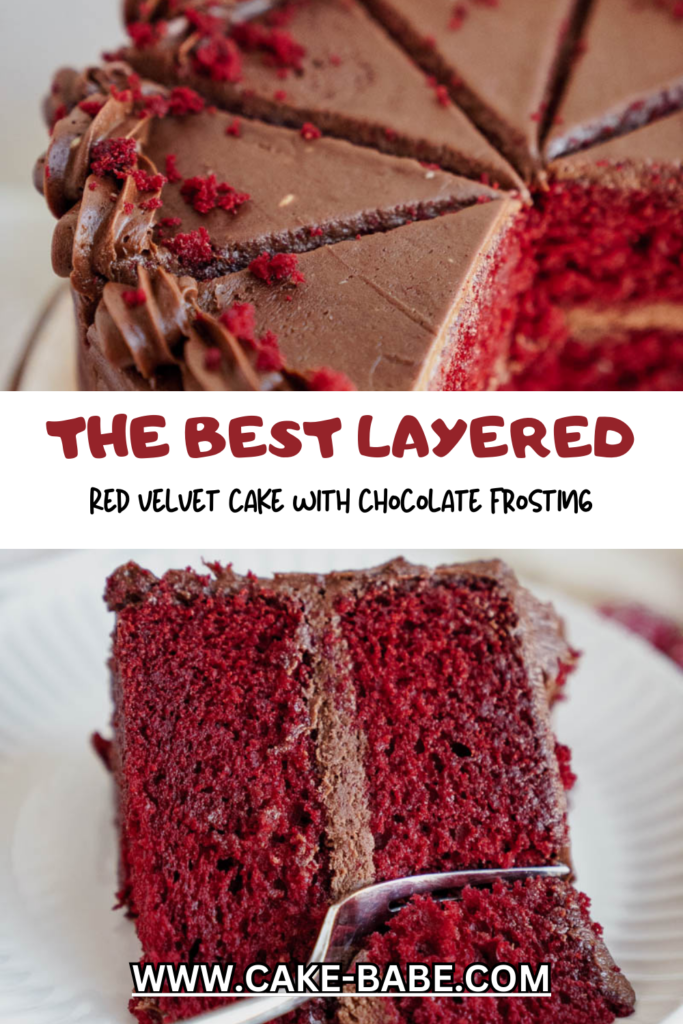
Red Velvet Cake With Chocolate - Red velvet cake layers made with sour cream and a hint of cocoa powder, filled with the best chocolate buttercream of your life!
Are you sick of red food coloring and unsweetened cocoa powder yet? Because I'm not! Get ready to bake my one of my best cake recipes Red Velvet Cake with Chocolate Frosting!
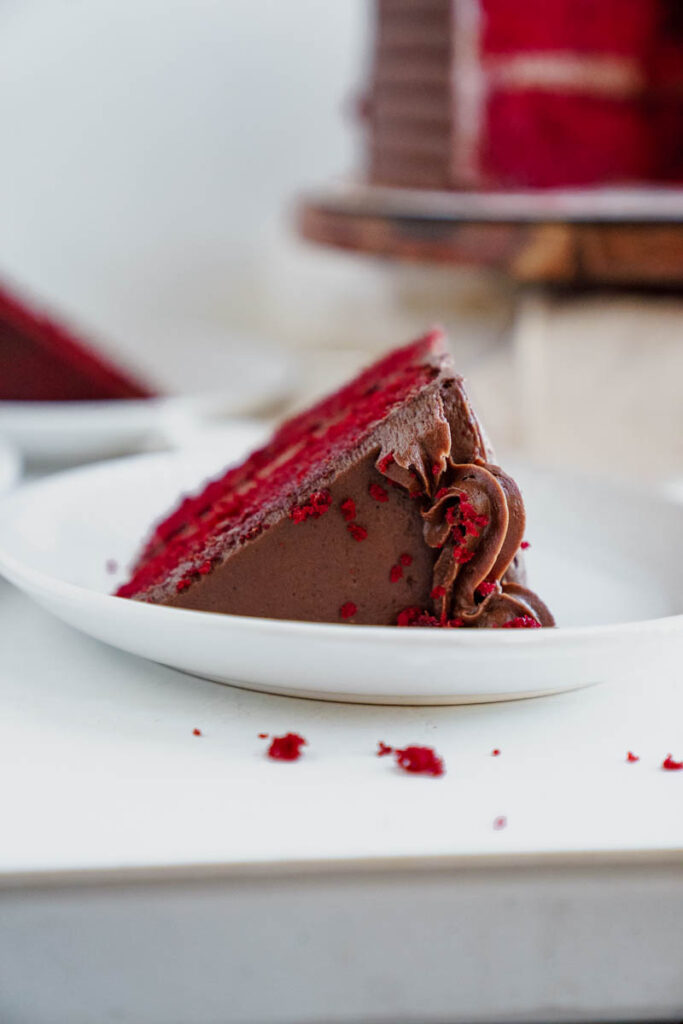
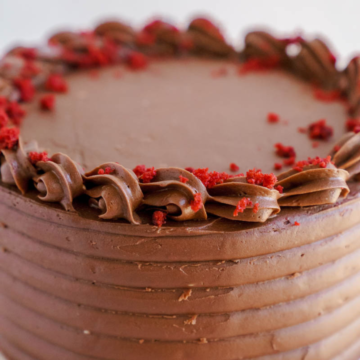
When I was with my test kitchen team (me and my two dogs), and we saw the first layer of this cake come out of the cake pans. This is a slight twist on the classic red velvet cake, because instead of the classic sweet cream cheese frosting, I opted for this amazing chocolate creamy frosting. The chocolate on chocolate is perfect for Valentine's day or any other day that reminds you how sad and alone you are. The frosting itself is super light (unlike how dense a classic red velvet cake is with its one pound cream cheese) and to complement that, I would make sure to serve this one at room temperature.
Moreover, break out your rubber spatula and baking soda, because it is time to make the best red velvet cake recipe of all time: My Red Velvet Cake with Chocolate Frosting
For more red velvet cake recipes here are some!
- Easy Red Velvet Gooey Butter Cake Recipe
- Easy Red Velvet Cake Recipe With Cream Cheese
- Simple Red Velvet Cake Recipe
Why you need to make this Red Velvet Cake
- A new look at the classic red velvet cake- There is nothing I love more than tweaking traditional recipes and I have really outdone myself here.
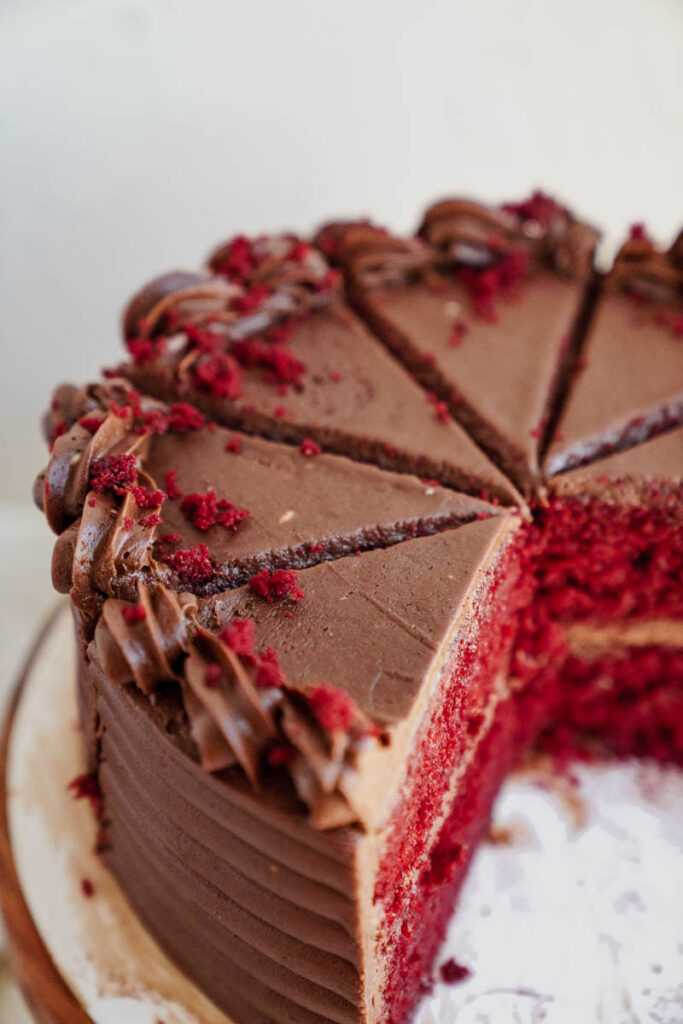
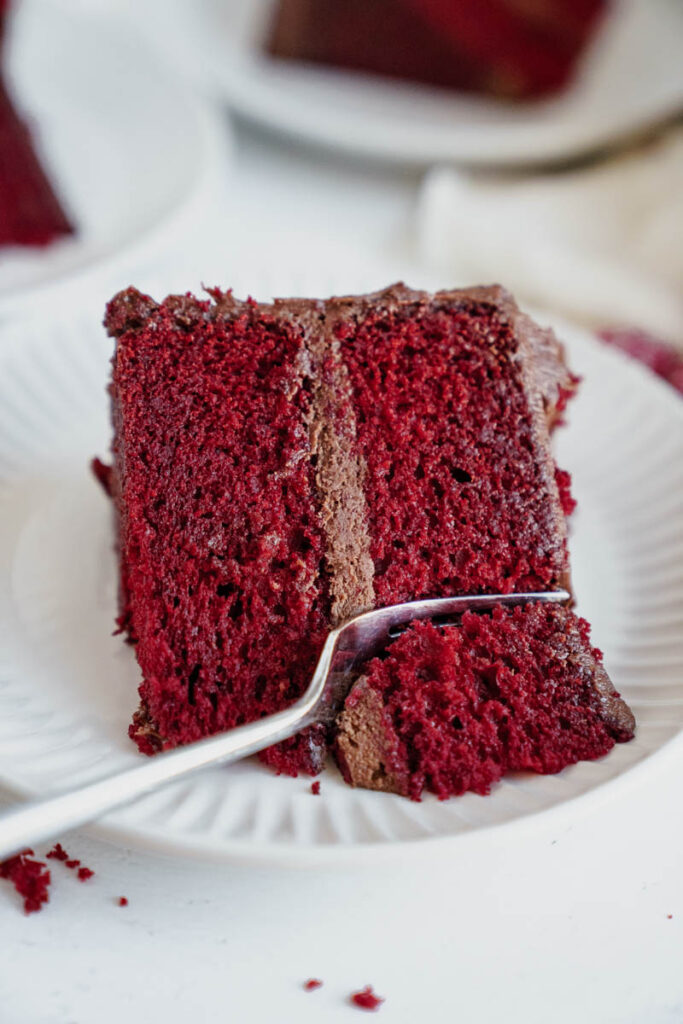
- The Velvety Crumb- The Red Velvet texture is just unreal. I mean, there is a reason they call it a velvet cake.
- Chocolate Frosting- One of my secrets here is adding a little salt to the chocolate frosting. It brings the flavor to the next level.
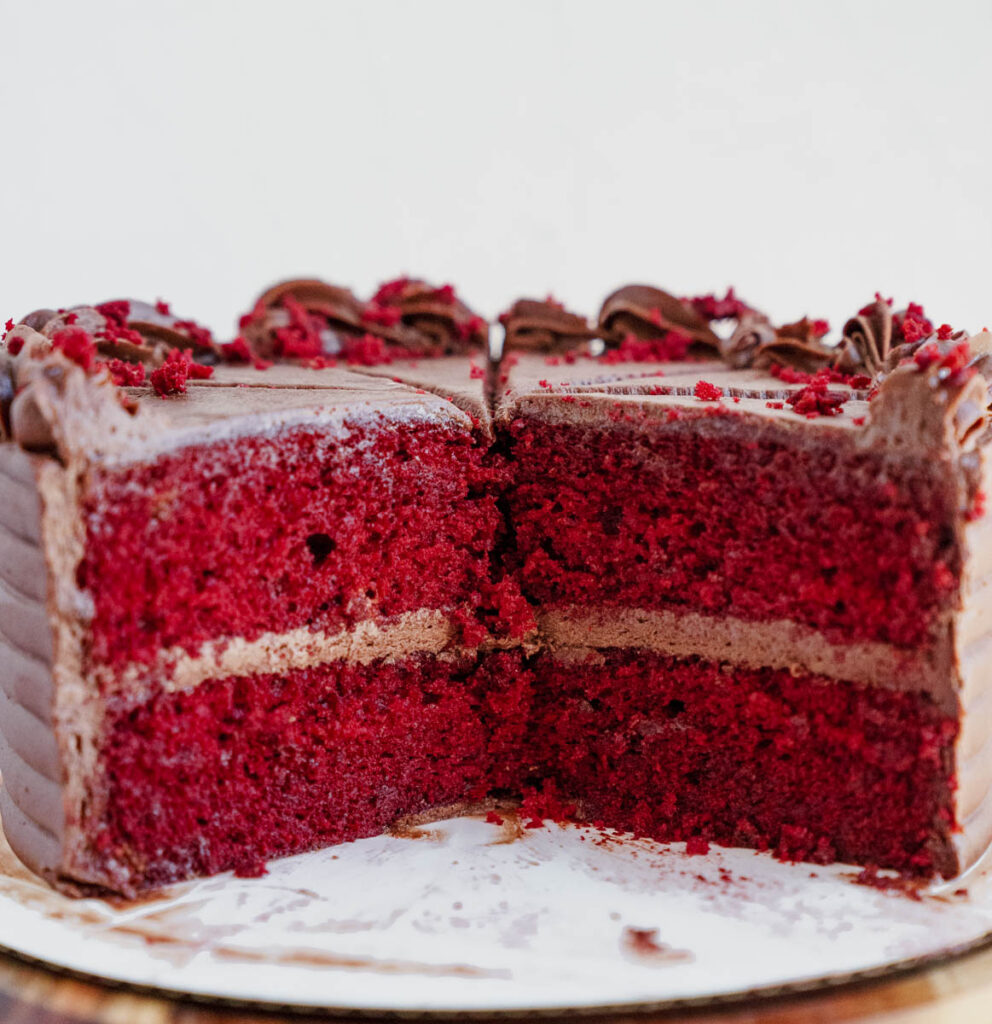
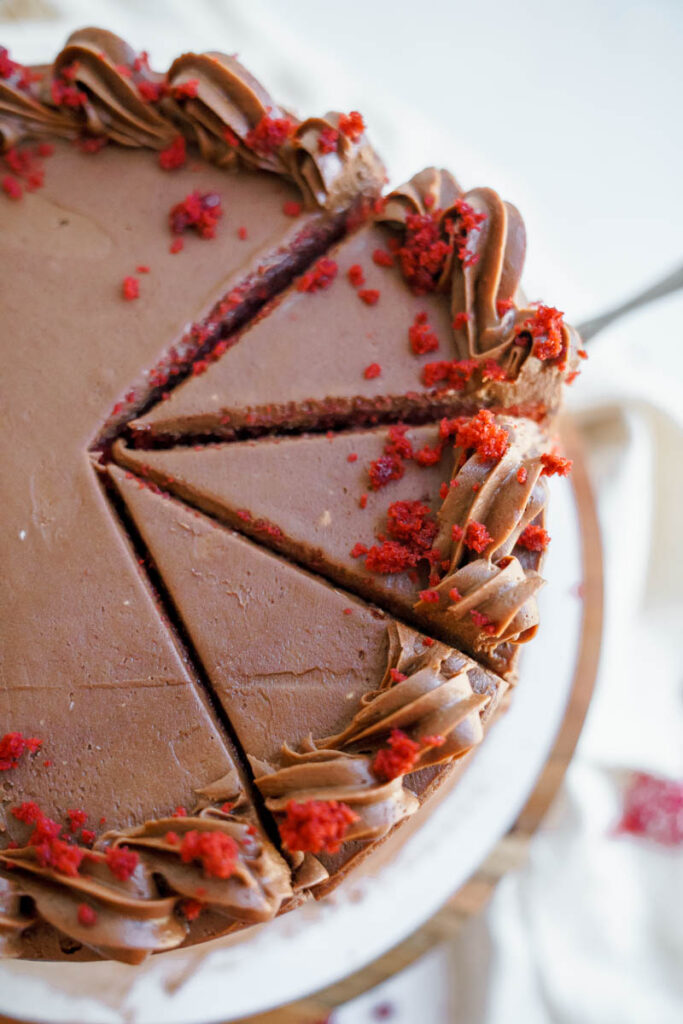
- Only two layers- Sometimes, a three layer cake can be scary. If you want a medium ground between three layers and a sheet cake, this cake is made for you!
Note: If you struggle to get the sides of the bowl with your electric mixer, try using a paddle attachment that has a rubber edge that can scrape against the sides of the bowl.
What You Need To Make This Recipe
Next, here are the key ingredients of my favorite red velvet cake recipe! For the full list, check out the recipe card below!
- Red Food Coloring- You could go and get some generic red food coloring or gel food coloring, or you could click this and get the best red velvet emulsion on the market.
- All-Purpose Flour- Not cake flour, not almond flour, All Purpose flour.
- Buttermilk- You will need 1 cup buttermilk for this recipe. But get a whole pint and the make some buttermilk pancakes. Yum.
- Large eggs- Have I ever mentioned how necessary it is to bring them to room temperature? If you don't your egg whites can implode (not really).
- Unsweetened Cocoa Powder- you want this to be a good quality bittersweet chocolate. Remember a little bit of cocoa powder goes a long ways.
- Salt- You know the saying "one teaspoon salt helps the medicine go down." But this recipe calls for more than a teaspoon of salt, so maybe just buy some.
- Unsalted butter- For the best flavor, use unsalted and then add salt little by little to balance out the icing.
Tips for making the Red Velvet Cake
Need some help on how to make the batter? I got you covered! Follow these tips so you can have the most perfect cake batter!
- Room temp: Make sure that butter, eggs, sour cream, and buttermilk are up to room temperature!
- Flavoring: My favorite flavoring is from LorAnn's! I highly recommend using it instead of food coloring! The flavor is unbeatable.
- Prep: Preheat the oven to 325°F for 30 minutes. GET THAT OVEN HOT AND READY and prepare two 8-inch cake pans. Don't over spray the baking pans. That causes the sides of the cake to slightly harden while baking.
- Dry Ingredients: In a bowl, whisk together cocoa powder, baking powder, baking soda, salt, and flour. Set aside.
- Creaming Method: In a stand mixer, cream together butter, oil, and sugar until light and fluffy.
- Wet Ingredients: Add eggs one at a time, followed by vanilla, LorAnn's emulsion, sour cream, and vinegar.
- Combine Mixtures: Alternately add the dry ingredients and buttermilk to the wet ingredients. Mix until just combined.
- Baking: Distribute the batter evenly into pans and bake for 40-45 minutes. Cool and level if necessary.
Tips for making the Frosting Recipe
Use these tips when making the chocolate buttercream! They will set you up for success!
- Chocolate Melting: When melting chocolate, do it in short bursts in the microwave, stirring between each interval. This prevents the chocolate from burning and ensures a smooth consistency.
- Cream Temperature: Ensure the heavy cream is nearly boiling but be cautious not to let it boil over. Pour the hot cream over the slightly warm chocolate chips, allowing them to melt together. This method helps the chocolate melt quicker and evenly.
- Butter Temperature: Beat the unsalted butter until it's creamy and slightly chilled. This ensures a smooth and fluffy texture for the buttercream.
- Gradual Powdered Sugar Addition: Add the sifted powdered sugar gradually to avoid lumps. Mix on low speed initially to prevent the sugar from creating a cloud and then increase to medium-high for a smooth, creamy consistency.
- Sifting Cocoa Powder: Sift the unsweetened baking cocoa to remove any lumps. This ensures a velvety texture in the buttercream.
- Hand Mixing: Use a wooden spoon or rubber spatula to beat the buttercream by hand after using the stand mixer. This helps remove any remaining air pockets, resulting in a smoother texture.
- Consistency Check: Assess the consistency of the buttercream. If it's too thick, you can add a bit more heavy cream, and if it's too thin, add more powdered sugar.
- Temperature Consideration: If your kitchen is warm, and the buttercream becomes too soft, you can refrigerate it briefly to firm it up before continuing with the assembly.

Assembly - Red Velvet Cake
Does assembly the cake stress you out? Stacking? Decorating? Don't be! I have tips for you! Follow these tips!
- Cool Completely: Ensure cakes are fully cooled before assembly to prevent frosting melting.
- Level Tops: Level cake tops for stability using a leveler or knife.
- Even Frosting: Spread chocolate frosting between layers evenly with an offset spatula. Get eye level so you cake is stack evenly
- Stack: Bottom side down for the first layer, and bottom side up for the second.
- Crumb Coat: Apply a thin layer of frosting for a crumb coat, then freeze for 10-15 minutes.
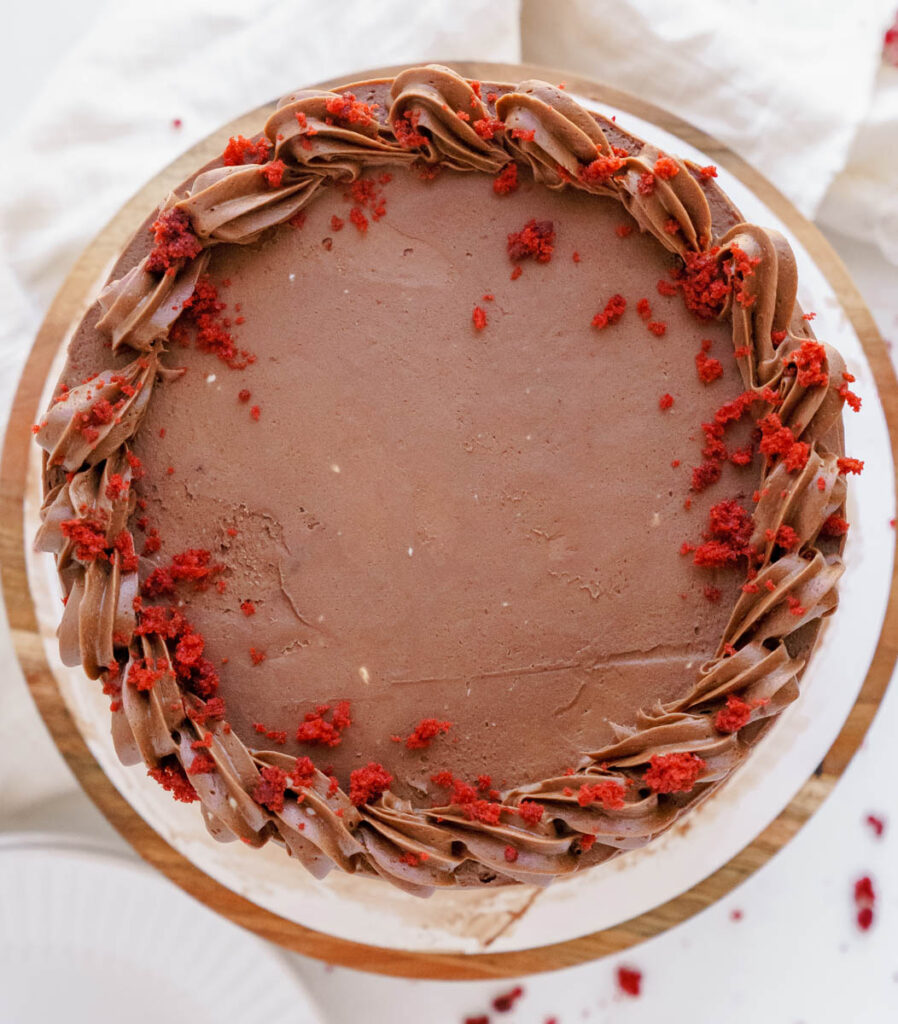
- Final Frosting: Apply the final frosting layer using an offset spatula for a smooth finish.
- Quick Decoration: Decorate immediately after the final layer before it sets.
- Room Temperature: Allow the assembled cake to reach room temperature before serving for the best flavor and texture.
Frequently Asked Questions - Red Velvet Cake
Can I substitute LorAnn's red velvet emulsion with red food coloring?
Yes, you can substitute with red food coloring. Adjust the amount to achieve the desired color.
Can I use a different size of cake pans?
Yes, but adjust the baking time accordingly. Smaller pans may require less time, while larger pans may need more.
How do I know when the cake is done baking?
Use a toothpick inserted into the center; it should come out with a few crumbs, not wet batter.
Can I make the cake ahead of time?
Yes, you can store the cooled cake in the fridge, wrapped in plastic, until ready to assemble.
Storing And Freezing
To store the Red Velvet Cake with Chocolate Frosting, wrap it tightly in plastic wrap and refrigerate. Consume within a few days for the best freshness, and bring it to room temperature before serving for optimal flavor and texture.
Freezing
To freeze the Red Velvet Cake with Chocolate Frosting, wrap the fully cooled and assembled cake tightly in plastic wrap. Place it in an airtight container or a resealable plastic bag, label with the date, and store in the freezer for up to 2-3 months. Thaw in the refrigerator before bringing it to room temperature for serving.
Remember LEAVE A 5 STAR EVIEW AND A COMMENT if you love the recipe or any questions. Follow me on Instagram, Pinterest, and TikTok. I post so many fun things on all platforms!
- Best White Chocolate Raspberry Bundt Cake Recipe
- Oreo Red Velvet Cookies With Frosting
- Easy Red Velvet Oreo Brownie Recipe
- The Best Oreo Red Velvet Cake With Oreo Frosting
Recipe
Red Velvet Cake With Chocolate Frosting
Ingredients
For the cake
- 1 cup unsalted butter room temperature
- ½ cup vegetable oil
- 1 ¾ cups granulated sugar
- 4 large eggs room temperature
- 2 teaspoons pure vanilla extract
- 1 ½ Tablespoons LorAnn's red velvet emulsion you can substitute with red food coloring
- ¼ cup full fat sour cream room temperature
- 1 teaspoon white distilled vinegar
- 1 Tablespoon cocoa powder
- 2 teaspoons baking powder
- 1 teaspoon baking soda
- 1 teaspoon salt
- 2 ¾ cup all-purpose flour
- 1 cup buttermilk room temperature
For the chocolate buttercream
- ¾ cups unsalted butter slightly chilled
- ¾ cup unsweetened baking cocoa sifted
- 1 teaspoon salt
- 4 ½ cups powdered sugar sifted
- 1 teaspoon vannilla extract
- ½ cup heavy cream
- 2 cups dark chocolate
Instructions
- Preheat your oven to 325°F . With cooking spray, spray the bottom of 2 8 inch rounds, line with parchment paper and spray the bottom and sides.
- In a medium sized bowl, whisk together the cocoa powder, baking powder, baking soda, salt, and all-purpose flour. Set aside.
- In the bowl of a stand mixer fitted with the paddle attachment, cream the butter, oil and sugar on medium high speed until light and fluffy, about 4 minutes. The mixture should turn white and nearly double in size.
- With a rubber spatula, scrape down the sides and the bottom of the bowl. With the mixer on medium speed, start adding the eggs one at a time, mixing for 30 seconds after each addition. Scrape the sides and bottom after each addition.
- Once the eggs have been added, add the vanilla, LorAnn's emulsion, sour cream, and vinegar. Mix on low just until incorporated, about 30-60 seconds.
- Scrape down the sides of the bowl and turn the mixer on low. Add half of the flour mixture and half of the buttermilk to the butter mixture and mix until just incorporated. Finally, add the rest of the flour mixture and the last of the buttermilk, while mixing on low. Do not over mix, this should take 30-45 seconds.
- Evenly distribute the cake batter to the prepped cake pans. With the back of a spoon, even out the batter to ensure it's smooth for baking.
- Bake in the preheated oven for 40-45 minutes or until a toothpick inserted into the center comes out with a few crumbs.
- Allow the cakes to cool in the pan for about 10 minutes, then remove them from the pan and place them on a wire rack to cool completely. Once the cake is completely cooled, if needed, level the top off with a cake leveler or knife.
- You can wrap the cake in plastic wrap and store it in the fridge until you are ready to assemble.
For the chocolate buttercream
- In a microwave safe bowl, heat the chocolate for 30 seconds, stir, heat for 30 more seconds, and set aside. The chocolate will not be melted all the way, but this will help it melt quicker when you add the cream.
- In another microwave proof bowl, heat the cream until nearly boiling. Make sure it doesn't boil over. Pour the hot cream over the slightly warm chocolate chips. Let it sit for 2 minutes and then stir. Set aside.
- In the bowl of a stand mixer fitted with the paddle attachment, beat the butter for about 2 minutes on medium-high speed.
- Add the chocolate/cream mixture. Scrape down the sides and bottom of the bowl with a rubber spatula and beat for 1 more minute.
- Add the powdered sugar, cocoa powder, vanilla, and salt. Mix on low until combined, then turn the mixer to medium high and beat for 3 minutes.
- With a wooden spoon or rubber spatula, beat by hand to mix out any air pockets.
Assembly
- Ensure that your cake layers have cooled completely before assembling. Level the cakes if needed.
- Start by placing a cake layer bottom side down on your serving platter, cake board, or cake stand.
- Spread a generous layer of chocolate frosting evenly over the top of the first cake layer. Use an offset spatula to make it smooth and level.
- Repeat this step, and this time, place the second cake layer bottom side up!
- Apply a thin layer of chocolate frosting around the entire cake and freeze the cake for 10 to 15 minutes.
- Once the crumb coat is set, finish frosting and decorating the cake with the remaining frosting, and serve!
ano says
This worked exactly as written, thanks!
ano says
My family loved this!
Julia Piasecki says
Tastes delicious but I definitely messed up the frosting. Was more like playdo and don't know what O did wrong.
Molly Murphy says
oh no! it might have needed to be more whipped or a dash of cream next time!
ano says
Thank you for sharing this recipe
Laura says
What is "2 cups" of dark chocolate? Can I get a weight? How can I know how much chocolate will melt into 2 cups?
Molly Murphy says
i meant dark chocolate chips. thanks for bringing this to my attention! this is an older recipe so i can give it a lot and update accordingly! 🙂