
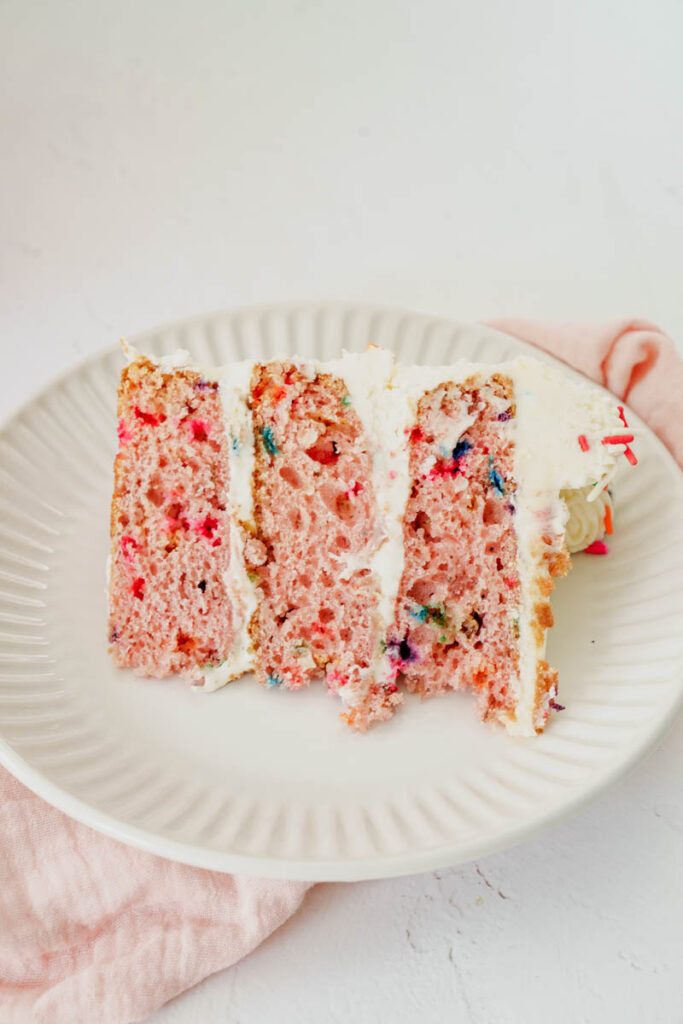
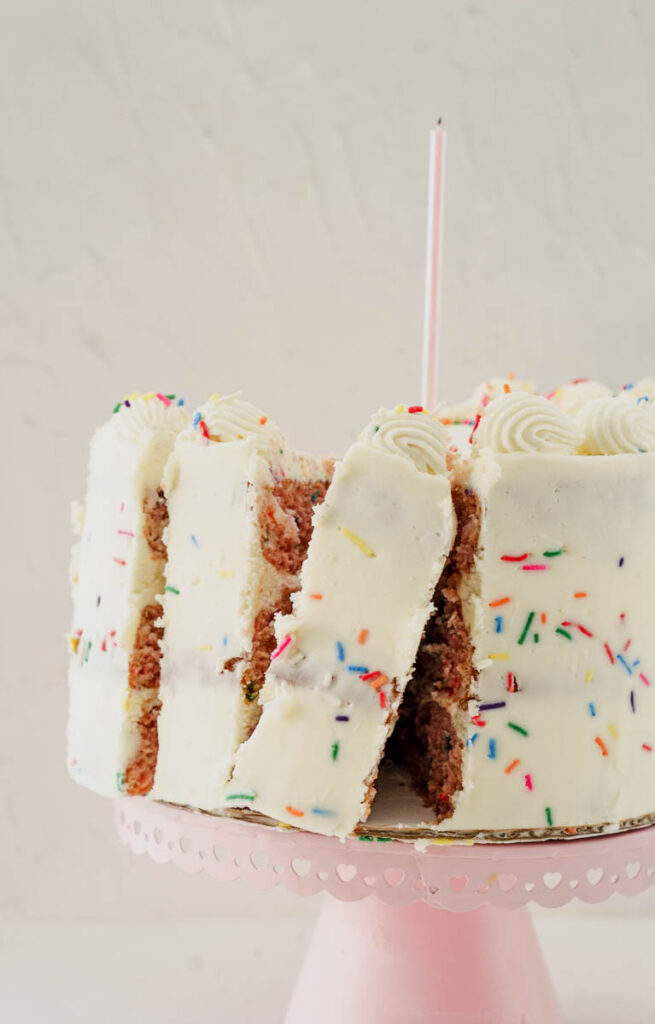
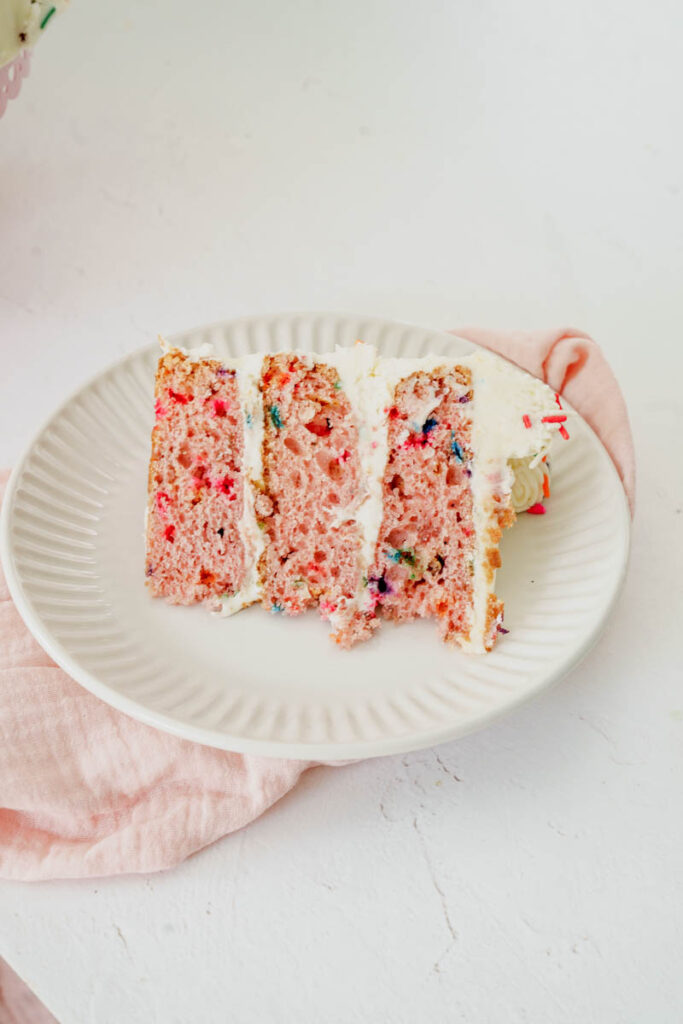
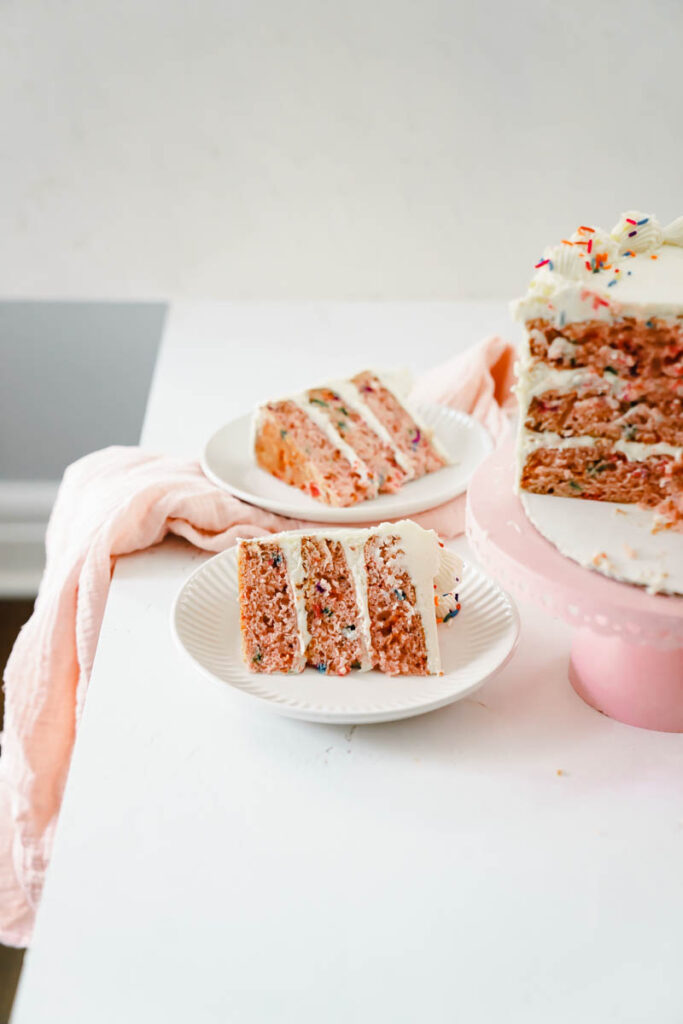
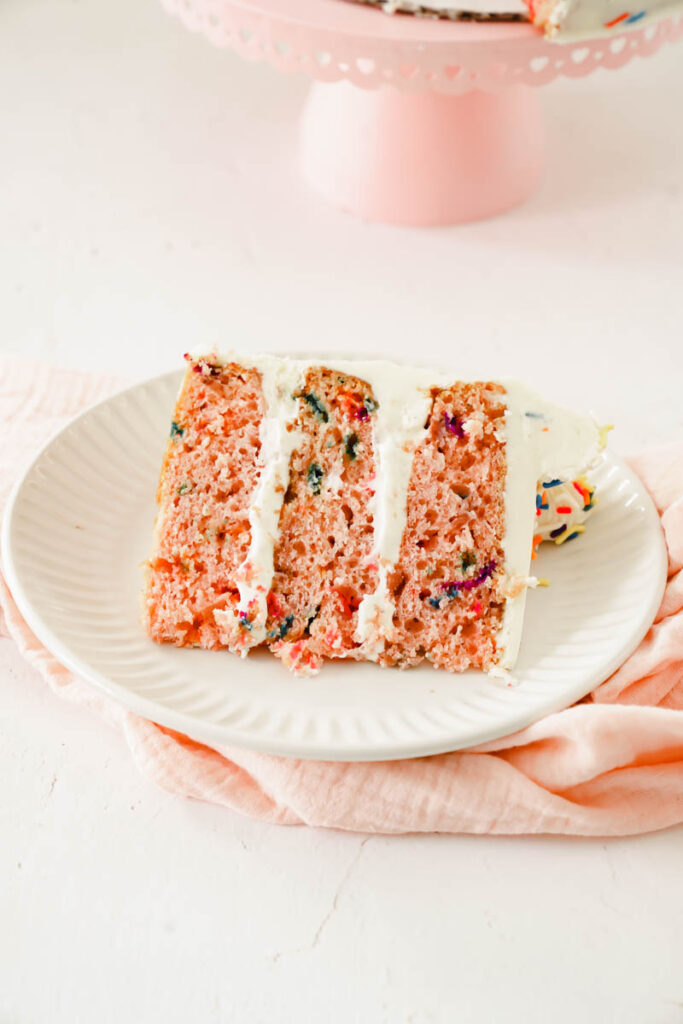
Strawberry Funfetti Cake - Fresh strawberry cake layers made with a strawberry reduction, filled with sprinkles, and then coated in a cream cheese buttercream.
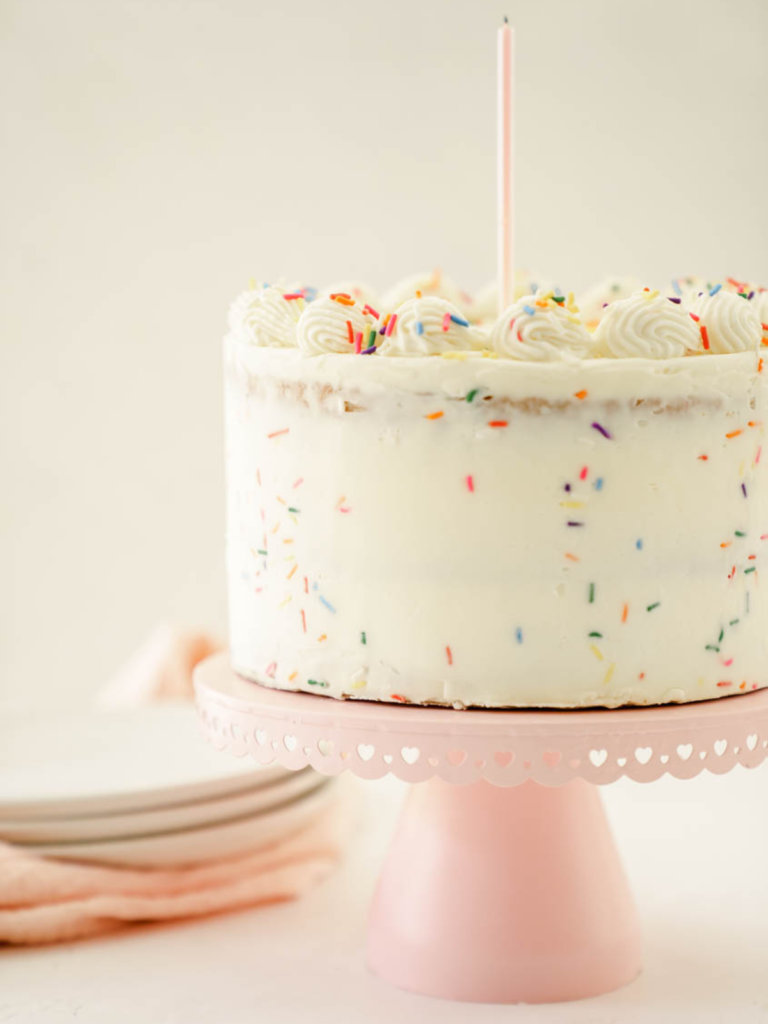
Wrapping up birthday week with my last sprinkle related dessert, this strawberry Funfetti cake is flavorful while also being the start of the show with the rainbow sprinkles right in the cake layers and buttercream. It is paired with a tangy cream cheese buttercream that will just make you smile ear to ear.
For a full list of all the birthday recipe I did this year, I have listed them below!
- Very Easy Birthday Cake Truffle Bites
- Homemade Birthday Sprinkle Marshmallows Recipe
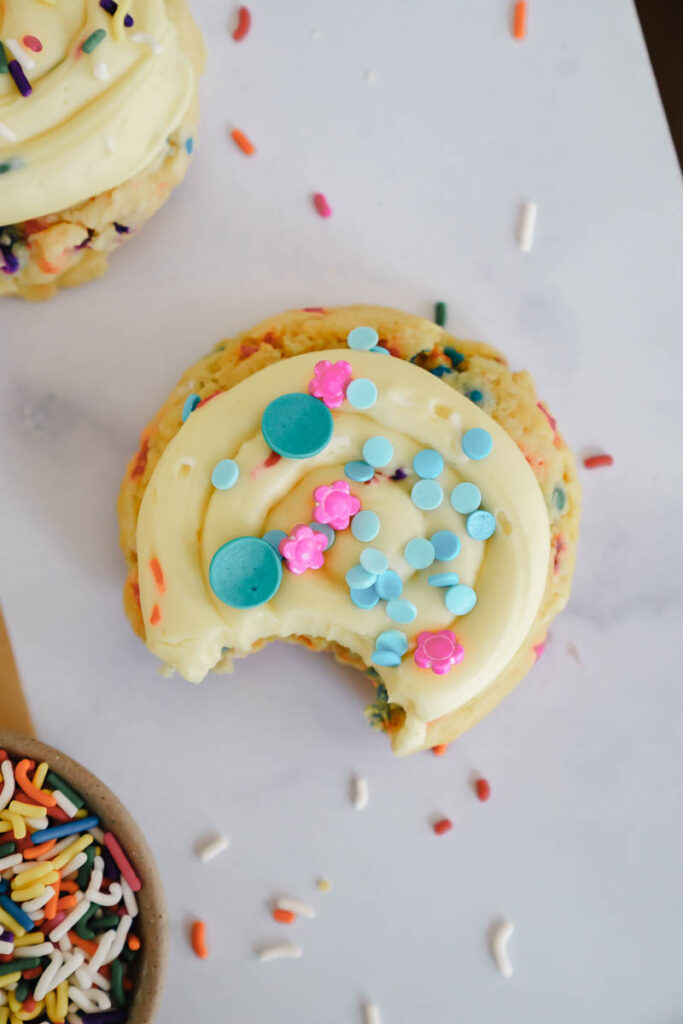
- Fun and Festive Birthday Cake Cookies
Jump to:
Why Make This Strawberry Funfetti Cake
Okay not that I need to convince you anymore, BUTTT for the fun of it, I have made a bullet point list of the key points for this cake and why it should be on the top choice for your next birthday cake.
- Sprinkles - I use rainbow jimmies, that I found at Walmart.
- Strawberry - this does use FRESH strawberries (something a lot of people have been requesting) You will use a strawberry reduction.
- Cream cheese buttercream - the outside coating uses cream cheese and butter. It gives it a tangy, but also sweet taste!
- Easy but looks Au-mazing! - It is three layers, but you can make it 4 layers or a sheet cake!
What you'll need to make Strawberry Funfetti Cake
Here, are some ingredients that you will need for this recipe that you may not have in your pantry. For a full list, check out the recipe card for below.
- Vanilla extract - this one is my favorite, but if you want a cheaper one, I recommend using this one.
- Rainbow sprinkles - I used these jimmies, but you can use whatever jimmies you like! At the bottom of my blog, there is a list of all my favorite sprinkles.
- Cream cheese - I used full fat, and highly recommend using full fat. I love Philadelphia, and the great value brand.
- Powder sugar - this is used for the frosting.
- Large eggs - The eggs need to be pulled out 2-4 hours before you make your cake batter.
- Food coloring - I use amerigel! Just make sure the brand you use is gel base and not water base.
- Strawberry emulsion - I used LorAnn's Strawberry emulsion, but you can always use strawberry extract.
Step by step - strawberry reduction
Step 1: Cook the strawberries. In a medium size sauce pan on medium heat, add the strawberries and water and slowly stir until the strawberries are somewhat covered in the water.
Step 2: Add the rest of the ingredients. Add in the sugar, lemon juice, and the pinch of salt. Let it start to simmer and bring to a small boil. Stirring occasionally so the bottom doesn't burn. You do not want a roaring boil. Just a subtle boil.
Step 3: Let it simmer. Once there is a small boil, reduce the heat to medium-low and let the mixture slowly simmer. The berries will start to break up and the mixture will start reducing in size. This takes approximately 20-25 minutes. With a rubber spatula, occasionally stir so the mixture doesn't burn.
Step 4: The mixture should start to hold its shape. The mixture is done when the strawberries have formed into a jelly like substance. If your mixture is slightly watery or liquidity, let the mixture keep cooking a little longer until it has become thicker.
Step 5: store the mixture. The end result will have about 2 cups of reduction. Once the mixture is done, remove from the pan and transfer to a heat proof container. Let it completely cool before letting it sit in the fridge for a few hours.
Step By Step Instructions
Next, I have made a detailed list on to make the strawberry cake batter. I use my kitchen aid which I got from here. Here is the pan I used.
Step 1: Whisk the dry. In a medium sized bowl, whisk together the flour, baking powder, and salt. Set aside.
Step 2: Cream the butter and sugar. Cream the butter, oil, and sugar on high until fluffy and smooth, about 4 minutes. With a rubber spatula, scrape the bottom and sides of the bowl.
Step 3: Add the egg whites. With the mixer on medium speed, start adding the egg whites, one at a time, beating after each addition. I usually beat each egg white for about 30 seconds. Scrape the sides and bottom of the bowl after each addition.
Step 4: Add flavoring. Add the vanilla extract, strawberry reduction, and the strawberry emulsion. Slowly mix on medium low speed for a minute.
Step 5: Alternative the dry and wet. With the mixer on low and add ⅓ of the flour and ½ of the buttermilk to the butter mixture and mix ON LOW until almost incorporated. Add another ⅓ of the flour and the rest of the buttermilk. Mix just until a few streaks of flour remain, then add the rest of the flour mixture. Mix just until the flour streaks are mostly gone. With a rubber spatula, fold in the sprinkles.
Step 6: Bake. Evenly distribute the cake batter among the cake pans and bake for 30-33 minutes or until a toothpick comes out with just a few moist crumbs on it.
Step 7: Cool done. Remove cakes from the oven and let them cool in the pans for 15 minutes before transferring them out of the pan and placing them on cooling racks.
Tips For Assembly
Onto assemble, I use a turn table, offer spatula, cake board, and a cake comb.
- Make sure your cake layers are either chilled or frozen. This helps secure the cake as your are frosting it.
- Get eye level with the cake to ensure you are making the cake even as you are staking it.
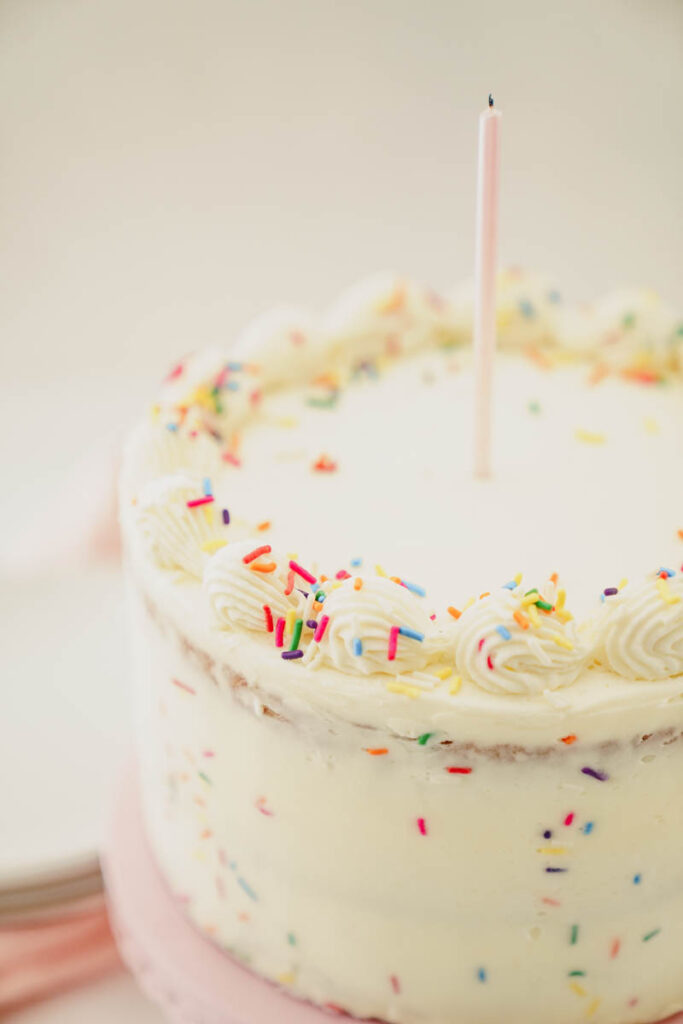
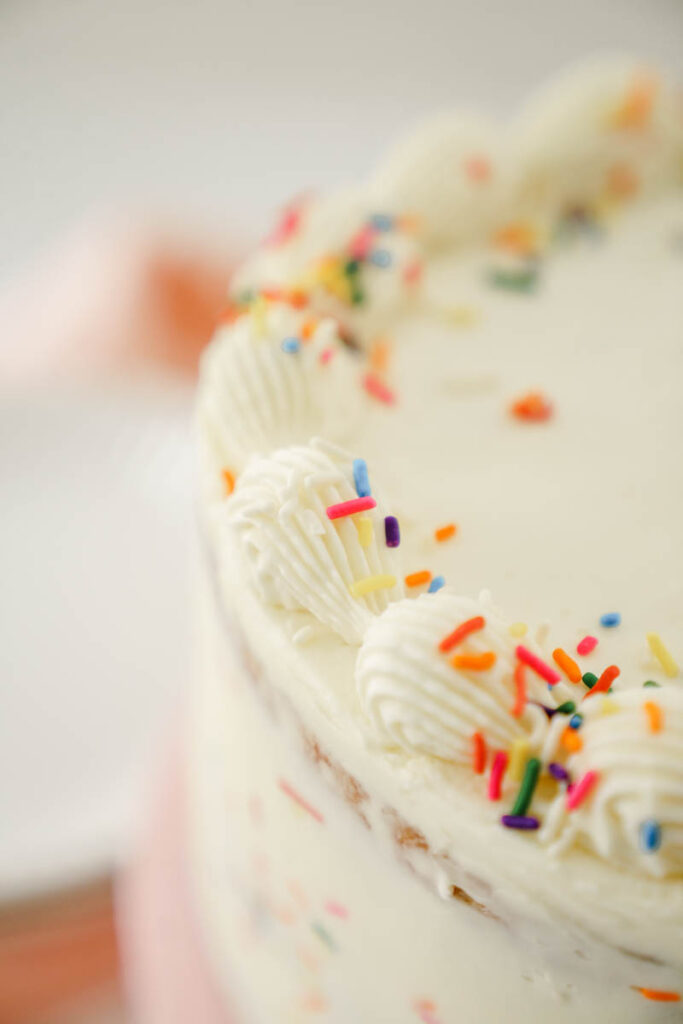
- I used wilton 8B to pipe my shells.
- Don't skip out on the crumb coat. This will reduce your crumbs. To apply a crumb coat, apply a thin layer of buttercream around the cake and freeze.
- A little sprinkle goes a long way. Don't over sprinkle and make it hard to frost your cake.
FAQ
Can I turn this into a sheet cake?
Yes! Absolutely! Just bake for an extra ten minutes.
How many cupcakes does this make?
This will make roughly 24-26 cupcakes!
What if I can't find Emulsion
If you can't find emulsion, I suggest using extract which you can find here.
Storing And Freezing
Finally, how to store this Strawberry Funfetti Cake Cover in plastic wrap and store in the fridge for up to 5 days, or store on the counter for 2 days.
Freezing - Strawberry Funfetti Cake
Furthermost, you can freeze this cake before it is decorated! After it is decorated, you can freeze the whole or cut up pieces. It will last in the freezer covered in plastic wrap for 30 days.
How to serve: Once the cake is frosted, you can cut the cake into 12-16 slices. I like to serve the cake at room temperature, and my husband likes to serve it in a bowl with milk poured over it.
Lastly, for more fun cake recipes, and all things delicious, I have listed some of my favorite below.

Remember LEAVE A STAR AND A COMMENT REVIEW if you love the recipe or any questions. Follow me on Instagram, Pinterest, and TikTok. I post so many fun things on all platforms!
Recipe
Strawberry Funfetti Cake
Ingredients
Strawberry Reduction
- 2 pounds fresh strawberries
- 1 Tablespoon water
- 1 teaspoon lemon juice
- ½ cup granulated sugar
- pinch salt
For the strawberry cake layers
- 3 ¼ cups all-purpose flour
- 1 ¾ teaspoons baking powder
- 1 teaspoon baking soda
- ¾ teaspoon salt
- 1 cup unsalted butter room temperature
- 1 teaspoons vegetable oil
- 1 ¼ cups granulated sugar
- 1 teaspoon vanilla extract
- 1 teaspoon strawberry emulsion or extract I use LorAnn oils bakery emulsion
- 5 large egg whites room temperature ½ cup strawberry reduction room temperature
- ¾ cup buttermilk room temperature
- ¼ cup rainbow sprinkles
- Pink food color I use Americolor neon pink
Cream Cheese Buttercream
- 1 ½ cups unsalted butter room temperature
- 8 ounces cream cheese room temperature
- 6 cups powdered sugar measured and then sifted
- ¼ cup heavy whipping cream
- 1 teaspoon pure vanilla extract
- 2 tablespoons rainbow sprinkles
- pinch of salt
Instructions
Strawberry Reduction Instructions
- This will need to be made at least 6 hours or a 1-2 days in advance.
- In a medium size sauce pan on medium heat, add the strawberries and water and slowly stir until the strawberries are somewhat covered in the water.
- Add in the sugar, lemon juice, and the pinch of salt. Let it start to simmer and bring to a small boil. Stirring occasionally so the bottom doesn't burn. You do not want a roaring boil. Just a subtle boil.
- Once there is a small boil, reduce the heat to medium-low and let the mixture slowly simmer. The berries will start to break up and the mixture will start reducing in size. This takes approximately 20-25 minutes. With a rubber spatula, occasionally stir so the mixture doesn't burn.
- The mixture is done when the strawberries have formed into a jelly like substance. If your mixture is slightly watery or liquidity, let the mixture keep cooking a little longer until it has become thicker.
- The end result will have about 2 cups of reduction. Once the mixture is done, remove from the pan and transfer to a heat proof container. Let it completely cool before letting it sit in the fridge for a few hours.
- (Note: when you are using it in the cake batter, make sure the mixture is ROOM TEMPERATURE, not hot or cold. That will result in uneven cake layers.
- Your strawberry reduction can be stored in an air tight container for up to two weeks, or in the freezer for 3-6 months.
For the strawberry cake layers
- Preheat the oven to 325 degrees. Prepare three 8-inch or four 6-inch round cake pans by lightly spraying the bottom of the pan with cooking spray. Line with parchment paper and spray again. Set aside.
- In a medium sized bowl, whisk together the flour, baking powder, and salt. Set aside.
- In the bowl of a stand mixer fitted with the paddle attachment, cream the butter, oil, and sugar on medium-high speed until light and fluffy, about 4 minutes. With a rubber spatula, scrape the bottom and sides of the bowl.
- With the mixer on medium speed, start adding the egg whites, one at a time, beating after each addition. I usually beat each egg white for about 30 seconds. Scrape the sides and bottom of the bowl after each addition. Once all the egg whites are added, on medium low speed, beat for 30 more seconds.
- Add the vanilla extract, strawberry reduction, and the strawberry emulsion. Slowly mix on medium low speed for a minute.
- With the mixer on low and add ⅓ of the flour and ½ of the buttermilk to the butter mixture and mix ON LOW until almost incorporated. Add another ⅓ of the flour and the rest of the buttermilk. Mix just until a few streaks of flour remain, then add the rest of the flour mixture. Mix just until the flour streaks are mostly gone.
- With a rubber spatula, fold in the sprinkles.
- Evenly distribute the cake batter among the three 8-inch or four 6-inch pans and bake for 30-33 minutes or until a toothpick comes out with just a few moist crumbs on it.
- Remove cakes from the oven and let them cool in the pans for 15 minutes before transferring them out of the pan and placing them on cooling racks.
- When cakes are completely cooled, wrap each cake layer individually with plastic wrap and stick it in the refrigerator or freezer until you're ready to frost.
For the cream cheese buttercream
- In the bowl of an electric mixer, combine the butter and cream cheese. Beat on medium speed for about two minutes. Scrape down the sides and bottom of the bowl. Beat again for 2 more minutes.
- With the mixer on low speed, add the powdered sugar, followed by the cream, vanilla, and a pinch of salt. Beat on low just until mixed. With a rubber spatula, scrape down the sides of the bowl.
- Turn the mixer up to medium-high speed and beat for about 3 to 5 minutes.
- With a rubber spatula fold in the rainbow sprinkles.
Assembly
- Place the first cake layer, top side up. Add about 1 cup of frosting. Spread over the cake layer as evenly as possible to the edges of the cake.
- Repeat this step until you get to the final cake layer, which you will lay top side down.
- Apply a thin coat of buttercream around the entire cake to lock in the crumbs. Freeze for about 10 minutes.
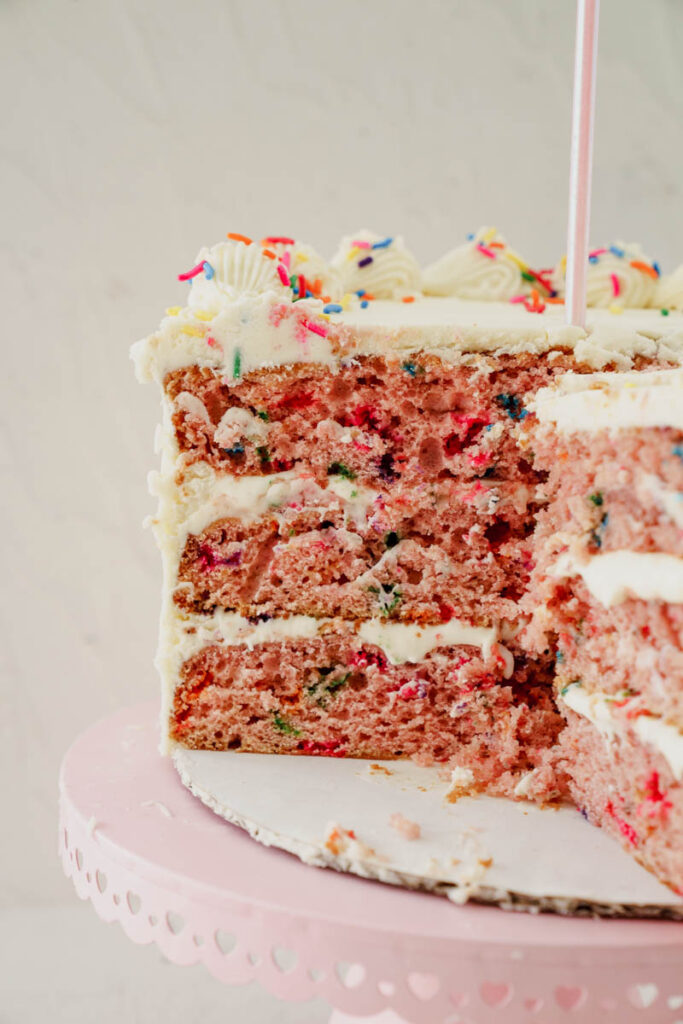
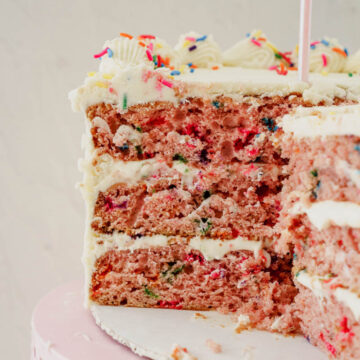
- After the crumb coat is set, I went for a naked looking cake. I applied another thin layer of frosting around the cake. I wanted the pink edges of the cake to come through. I used a wilton 8B to obtain the pipped shells and then garnished with a few extra sprinkles.
- This cake is served best at room temperature. Wrap the cake in plastic wrap and it can be stored in the fridge for up to 5 days. You can also wrap each individual slice in plastic wrap and store in the freezer for up to 30 days.
Naomi says
The baking soda and the food coloring were not added to the instructions for the 3 cakes, but I added the baking soda to the flour mixture and added the food coloring in after mixing the batter at the end, and before adding and folding in the sprinkles. Pretty easy to follow otherwise and as someone who has NEVER made a cake before - pretty easy to make, too. My girlfriend’s favorite cake is strawberry and her party theme was “rainbow”, so this was the perfect cake aesthetically. Couldn’t have turned out better. 🙂 Great recipe 👍🏼 (also, I used a hand mixer for everything and it still all turned out good)