Coconut Cake - Soft and fluffy coconut cake layers, filled with a tangy cream cheese buttercream, coated in toasted coconut!
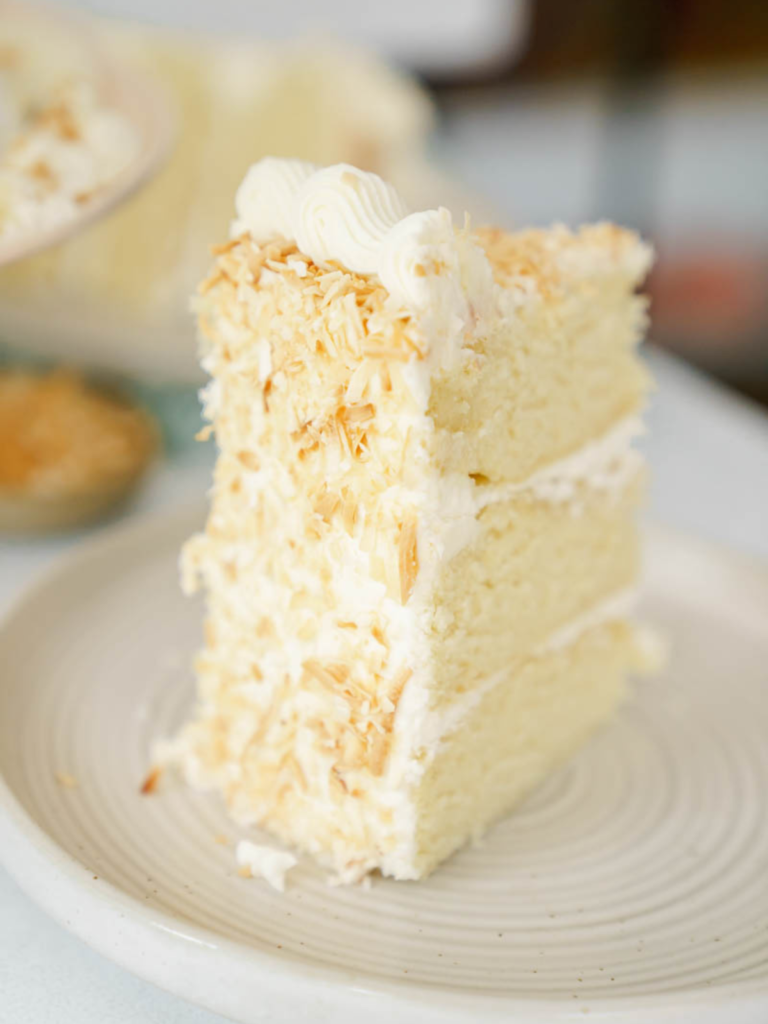
Looking for a slice of paradise on your plate? Look no further! My coconut cake recipe, infused with luscious coconut emulsion, will transport your taste buds to a tropical oasis. From fluffy cake layers to dreamy coconut frosting, this recipe is the epitome of bliss. Get ready to embark on a culinary adventure as we share the secrets to creating this divine coconut cake masterpiece.
For other summery recipes, here are some you should make asap!
- Tasty Graham Cracker S'mores Cake
- The Best Blueberry Buckle Cake
- Strawberry Funfetti Cake With Real Strawberries
Why Make This Coconut Cake?
Are you ready to level up your baking game? This coconut cake recipe is an absolute must-try, and here's why:
- Tropical Delight: The use of coconut emulsion adds an extra layer of coconut flavor, intensifying the tropical experience.
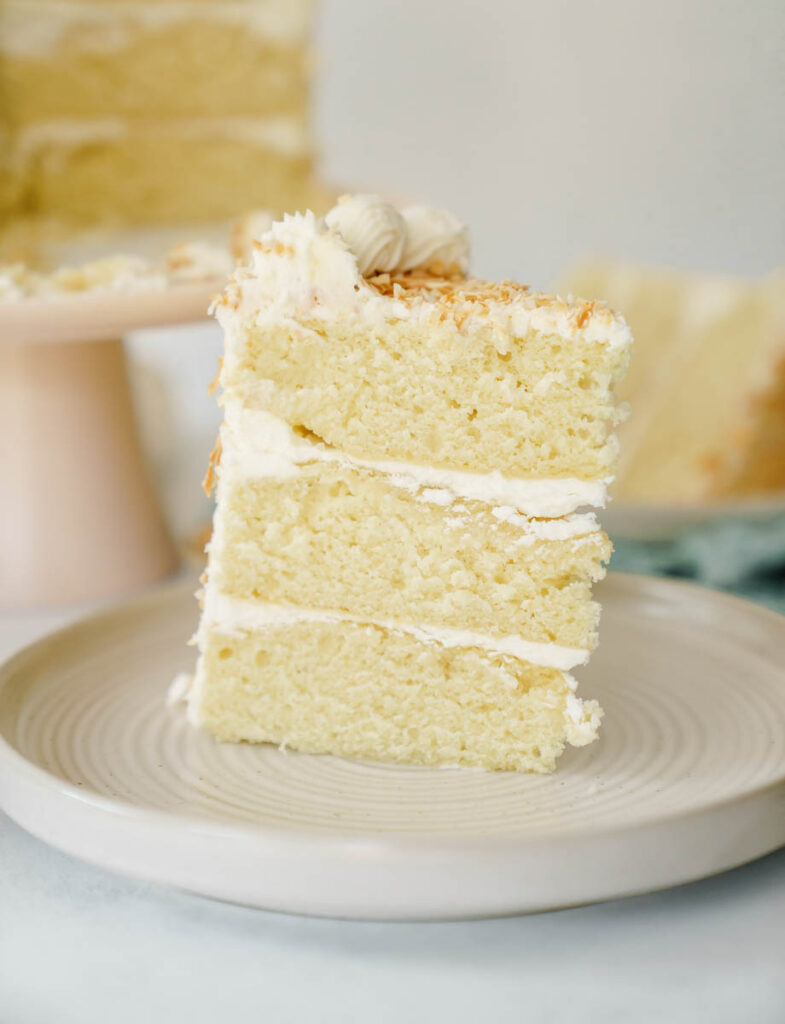
- Moist and Fluffy: This recipe ensures a perfectly moist and airy cake, creating a melt-in-your-mouth sensation with every bite.
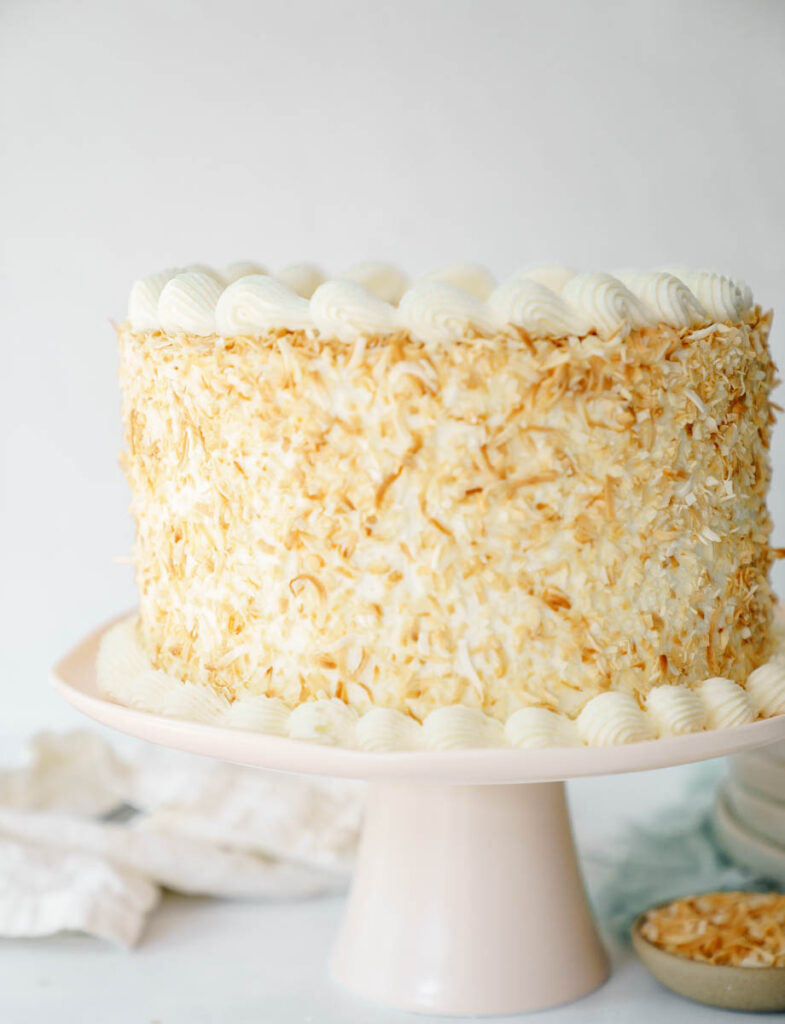
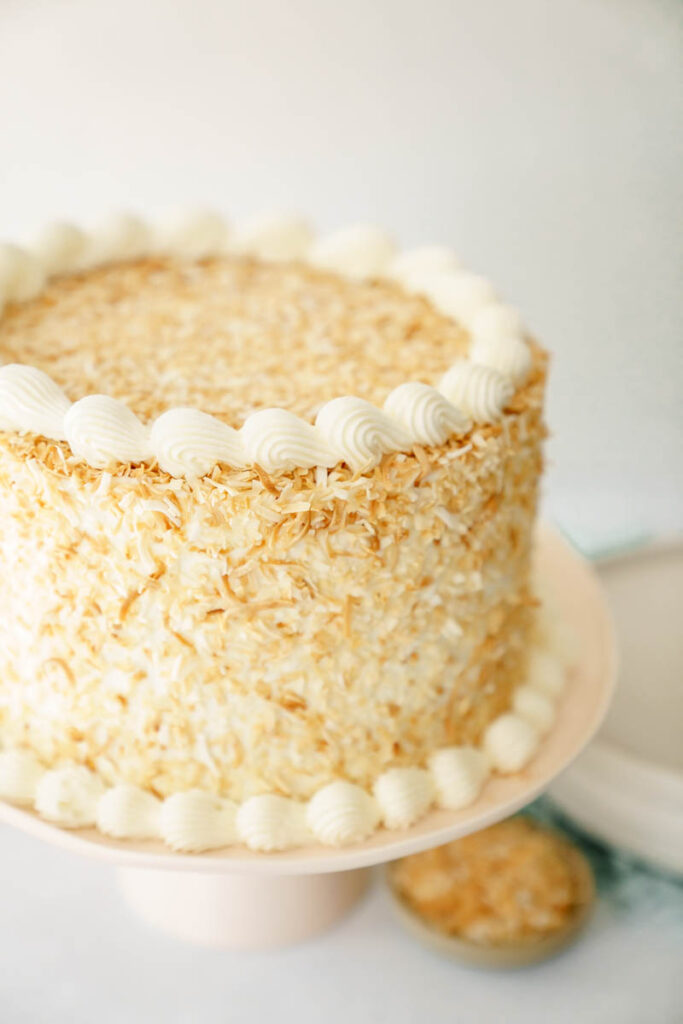
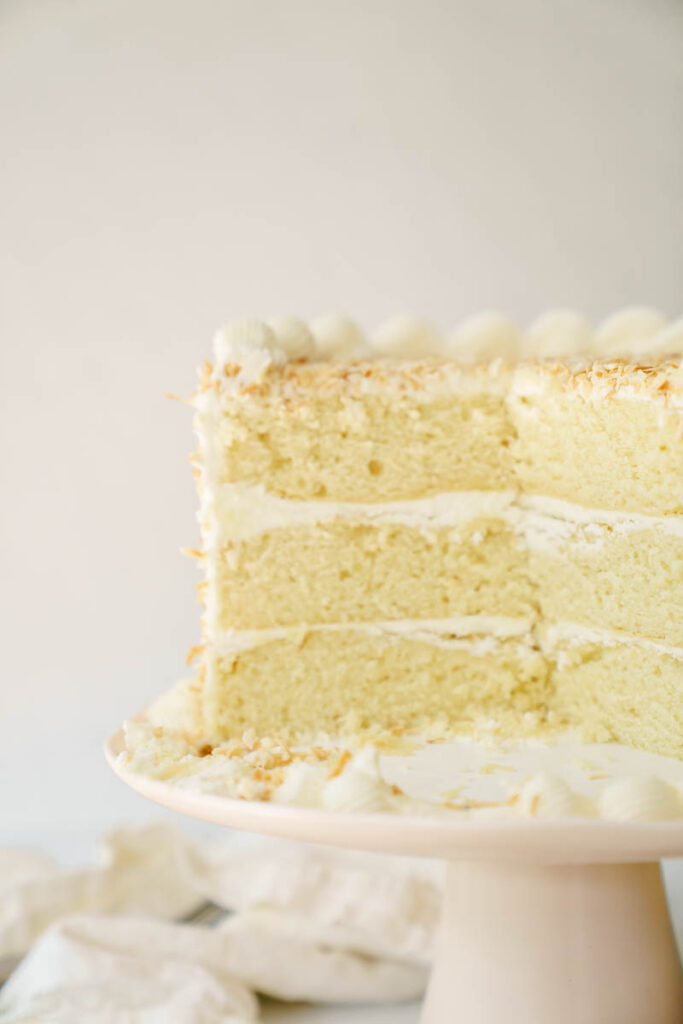
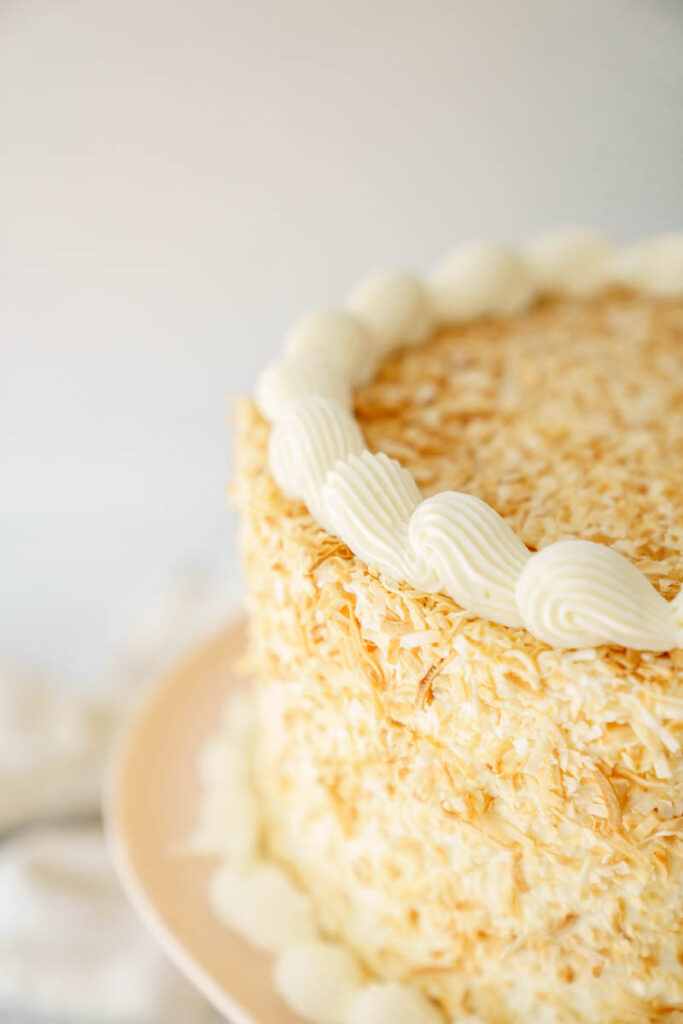
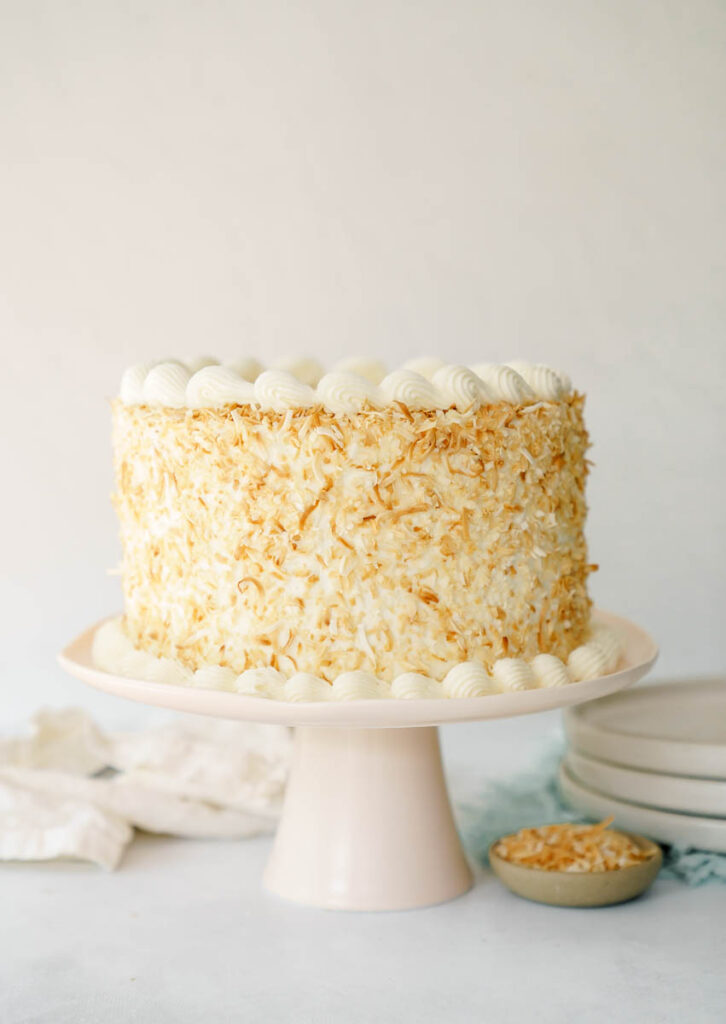
- Impressive Presentation: Decorated with toasted coconut flakes, this cake is a showstopper at any gathering or special occasion.
- Very easy to whip up: With only two elements, this cake takes hardly anytime at all to get ready for any summer occasion!
Grocery check list
To create this heavenly coconut cake, you'll need:
- Cake Flour: Provides structure and forms the base of the cake. The protein level is cake flour softens the crumb in the cake.
- Baking powder: Acts as a leavening agent, helping the cake to rise and become light and fluffy.
- Granulated sugar: Adds sweetness and helps to tenderize the cake.
- Unsalted butter: Adds richness and flavor to the cake.
- Vegetable oil: Keeps the cake moist and tender.
- Eggs: Provide structure and stability to the cake, acting as a binding agent.
- Coconut emulsion: Infuses the cake with a concentrated coconut flavor.
- Coconut milk: Adds moisture, richness, and coconut flavor to the cake.
- Unsweetened shredded coconut: This part is optional, and this is how I decorated my cake!
Step by Step - Coconut Cake
- Preheat oven to 325°F (163°C) and prepare three 8-inch round cake pans with cooking spray and parchment paper lining.
- In a medium-sized bowl, whisk together cake flour, baking powder, and salt. Set aside.
- Using a stand mixer with the paddle attachment, cream butter, oil, and sugar until light and smooth.
- Add eggs and egg whites one at a time, beating well after each addition. Mix in coconut emulsion and sour cream.
- Gradually add the dry ingredients and coconut milk to the batter, mixing just until incorporated. Scrape the bowl to ensure even mixing.
- Divide the batter evenly among the prepared pans. Bake for 28-32 minutes or until a toothpick inserted comes out clean.
- Once the cakes are done, allow the cakes to cool in the pans for 10-15 minutes, then transfer them to a wire rack to cool completely.
- Wrap the cooled cakes in plastic wrap and store in the refrigerator or freezer until ready to use.
By following these steps, you can create a moist and flavorful coconut cake that can be stored and enjoyed at a later time.
List of Tools Used:
For this recipe, you'll need the following tools:
- Three 8-inch round cake pans
- Parchment paper
- Mixing bowls
- Electric mixer or stand mixer
- Cake turntable (optional)
- Offset spatula
- Cake scraper

Frequently Asked Questions - Coconut Cake
1. Can I use coconut extract instead of coconut emulsion?
Yes, you can use coconut extract as a substitute for coconut emulsion. Keep in mind that coconut extract is typically more concentrated, so you may need to adjust the quantity to achieve the desired coconut flavor. Start with a smaller amount and taste the batter before adding more, as the intensity can vary among different brands.
2. Can I make this recipe gluten-free?
Certainly! You can try substituting the all-purpose flour with a gluten-free flour blend suitable for baking. Keep in mind that gluten-free flours may affect the texture and moistness of the cake, so it's recommended to use a blend specifically designed for cakes.
3. Can I make the cake layers ahead of time?
Absolutely! You can bake the cake layers in advance. Once completely cooled, wrap them tightly in plastic wrap and store at room temperature for up to 1 day, or refrigerate for up to 3 days. Just make sure to bring them to room temperature before assembling the cake.
4. What other size pans can I use to make this cake?
You can use, 2 9 inch pans, or you can use 4 6 inch pans, you also use a 9x13 cake pan! Just remember to watch the baking time!
Remember, these FAQs are meant to provide general guidance, and it's always a good idea to refer to the original recipe for specific instructions and measurements. Happy baking!
Storing and Freezing Coconut Cake: Keep the Bliss Fresh
After savoring a slice of coconut cake bliss, you may wonder about the best way to store and freeze any remaining cake. To ensure its freshness and preserve its delectable flavors, follow these helpful tips for storing and freezing your coconut cake.
Storing Coconut Cake: Preserve the Tropical Delight
To keep your coconut cake fresh and moist, it's essential to store it properly. Follow these steps for optimal storage:
- Refrigeration: Once the cake is fully assembled, it is best to store it in the refrigerator. The cool temperature helps to maintain the freshness of the cake and the stability of the frosting.
- Covering: Use a cake dome or cover the cake loosely with plastic wrap to protect it from drying out. This shield prevents exposure to air and helps retain the cake's moisture.
- Avoid Odor Absorption: Store the cake away from pungent foods in the refrigerator to prevent the absorption of unwanted flavors.
- Room Temperature: Before serving, allow the refrigerated cake to sit at room temperature for about 30 minutes. This short period helps the cake regain its soft texture and enhances its delightful flavors.
By following these simple steps, you can enjoy the tropical bliss of your coconut cake for several days while maintaining its irresistible taste and texture.
Freezing Coconut Cake: Extend the Coconut Paradise
If you have extra coconut cake or wish to prepare it in advance, freezing is an excellent option. Here's how to freeze your coconut cake while preserving its scrumptiousness:
- Cooling: Allow the cake to cool completely before freezing. If the cake layers were freshly baked, it is crucial to let them reach room temperature to avoid condensation and prevent the cake from becoming soggy.
- Wrapping: Individually wrap each cake layer tightly with plastic wrap. This first layer shields the cake from freezer burn and locks in its moisture. Then, wrap the layers in aluminum foil for an extra protective layer.
- Freezer-Safe Containers: If preferred, place the wrapped cake layers in a freezer-safe container or zip-top bag. Make sure to remove as much air as possible to prevent freezer burn.
- Labeling: Label the container or bag with the date and cake type for easy identification in the future.
- Freezing Duration: Coconut cake can be stored in the freezer for up to two months without significant loss in quality. After this time, the cake may experience some flavor and texture changes.
- Thawing: To thaw the frozen coconut cake, transfer the wrapped layers to the refrigerator and allow them to thaw overnight. This gradual thawing process preserves the cake's texture and taste.
Remember, proper storage and freezing techniques ensure that every bite of your coconut cake remains as fresh and enticing as the first. So, savor the flavors of paradise with each slice, whether enjoyed immediately or frozen for later indulgence.
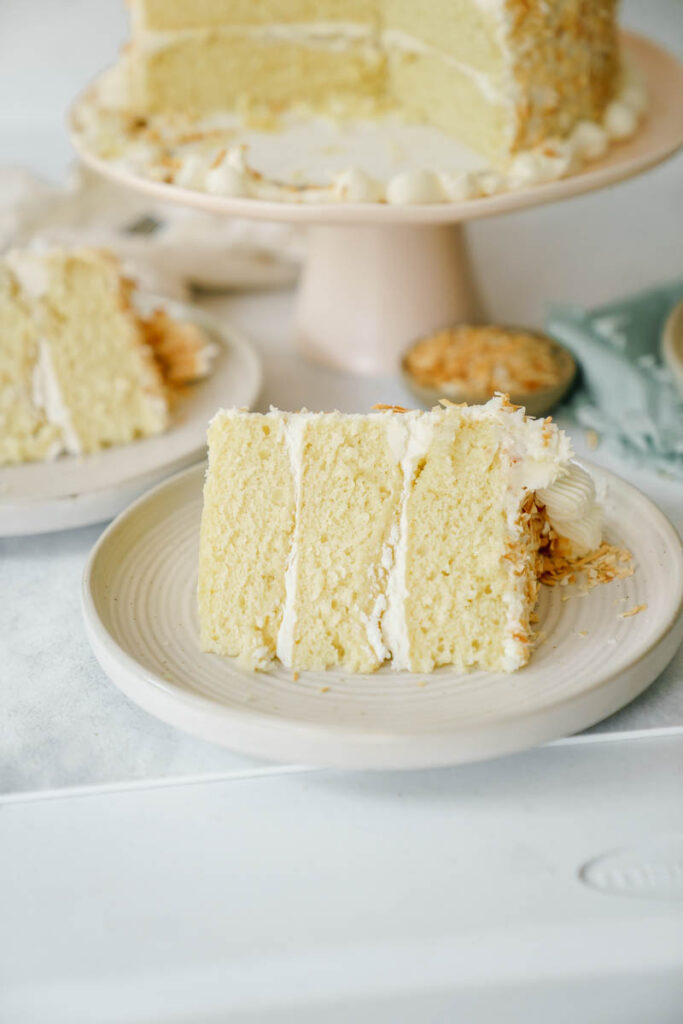
How to serve: Once the cake is stacked and fill you can cut the cake into 8-12 pieces. I like to serve the cake at room temperature, and my husband likes to serve it in a bowl with milk poured over it.

Remember LEAVE A STAR AND A COMMENT REVIEW if you love the recipe or any questions. Follow me on Instagram, Pinterest, and TikTok. I post so many fun things on all platforms!
Recipe
Coconut Cake
Ingredients
For the cake
- 1 cup unsalted butter room temperature
- 1 ¾ cups granulated sugar
- 1 tablespoon vegetable oil
- 3 large whole eggs room temperature
- 4 large egg whites room temperature
- 1 ½ Tablespoon coconut emulsion I use Lorann's coconut extract is fine too!
- 2 tablespoons sour cream
- 3 cups cake flour
- 1 Tablespoon baking powder
- 1 teaspoon salt
- 1 ¼ cups canned coconut milk high fat and low sugar.
For the coconut cream cheese frosting
- 1 ½ cups unsalted butter slightly chilled
- 4 ounce cream cheese slightly chilled
- 6 cups powdered sugar preferably sifted
- ¼ cup heavy whipping cream
- 1 teaspoon pure vanilla extract
- 1 tablespoon coconut emulsion or extract
- ¼ teaspoon salt
Instructions
For the cake
- Preheat your oven to 325 degrees F. Spray three 8-inch round cake pans with cooking spray and line with parchment. Spray again. Set aside.
- In a medium-sized bowl, whisk or sift together the cake flour, baking powder, and salt. Set aside.
- In the bowl of a stand mixer, fitted with the paddle attachment, cream the butter, oil, and sugar on medium high speed until light/fluffy and smooth, about 3 minutes. With a rubber spatula, scrape down the sides and cream again for 1-2 more minutes.
- Add the eggs and the egg whites, one at a time, beat on medium-speed until, after each addition, until well incorporated (around 30 seconds after each egg) Once all the eggs have been added, beat on medium speed high for 1 minute. Add the coconut emulsion, sour cream, and mix on low, just until incorporated.
- With the mixer on the lowest speed, add ⅓ of the flour mixture to the liquid mixture followed by ½ of the coconut milk. Add another ⅓ of the flour mixture, and then the rest of the coconut milk, and finally add the remaining flour mixture. Don't over mix. Only mix until just incorporated. Scrape the bottom of the bowl to ensure the batter is evenly mixed.
- With a kitchen scale, evenly distribute the batter to the prepped pans. Bake for 28-32 minutes, or until an inserted toothpick has little to no crumbs sticking to it. Mine took the full 32 minutes, but it can go faster depending on your oven.
- Let the cakes cool for 10-15 minutes and then take the cakes out of the pan and place them to a wire rack and let them cool until room temperature.
- Wrap in plastic wrap and store in fridge or freezer until ready to use.
For the cream cheese buttercream
- In a stand mixer fitted with the paddle attachment, beat the butter and cream cheese on medium-high speed until smooth, about 3 minutes.
- With the mixer on low, add the powdered sugar until it's all incorporated.
- With the mixer on low, add the cream, vanilla, coconut flavoring, and salt.
- Turn the mixer to medium and beat the frosting for 3 minutes, or until it is light in color.
- Use a wooden spoon to give it one last stir and push out the air bubbles.
Assembly
- Level cakes, if needed. Place the first cake layer, bottom side down, in the center of a cake board with a dollop of frosting to act as glue.
- Spread 1 cup of the coconut buttercream over the cake layer, and with an offset spatula, evenly spread the buttercream ensuring that the top is flat and not slanted.
- Repeat this step until you get to the final cake layer, which you will lay top side down.
- Apply a thin coat of buttercream around the entire cake to lock in the crumbs. Freeze for about 10 minutes.
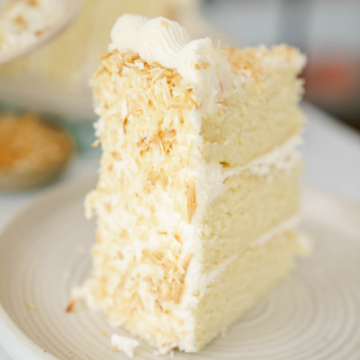
- After the crumb coat is set, apply the rest of the frosting. To get my look, I toasted some coconut and applied it around the cake, and used leftover frosting and pipe a rim around the top. I used a wilton 8B to obtain the pipped shells and then garnished with a few extra coconut pieces.

Linda Sales says
Thank you for sharing this recipe. It was delicious!